DIY Headboard: The Project That Completely Changes The Way Your Bedroom Feels
- Beril Yilmaz

- 5 hours ago
- 6 min read
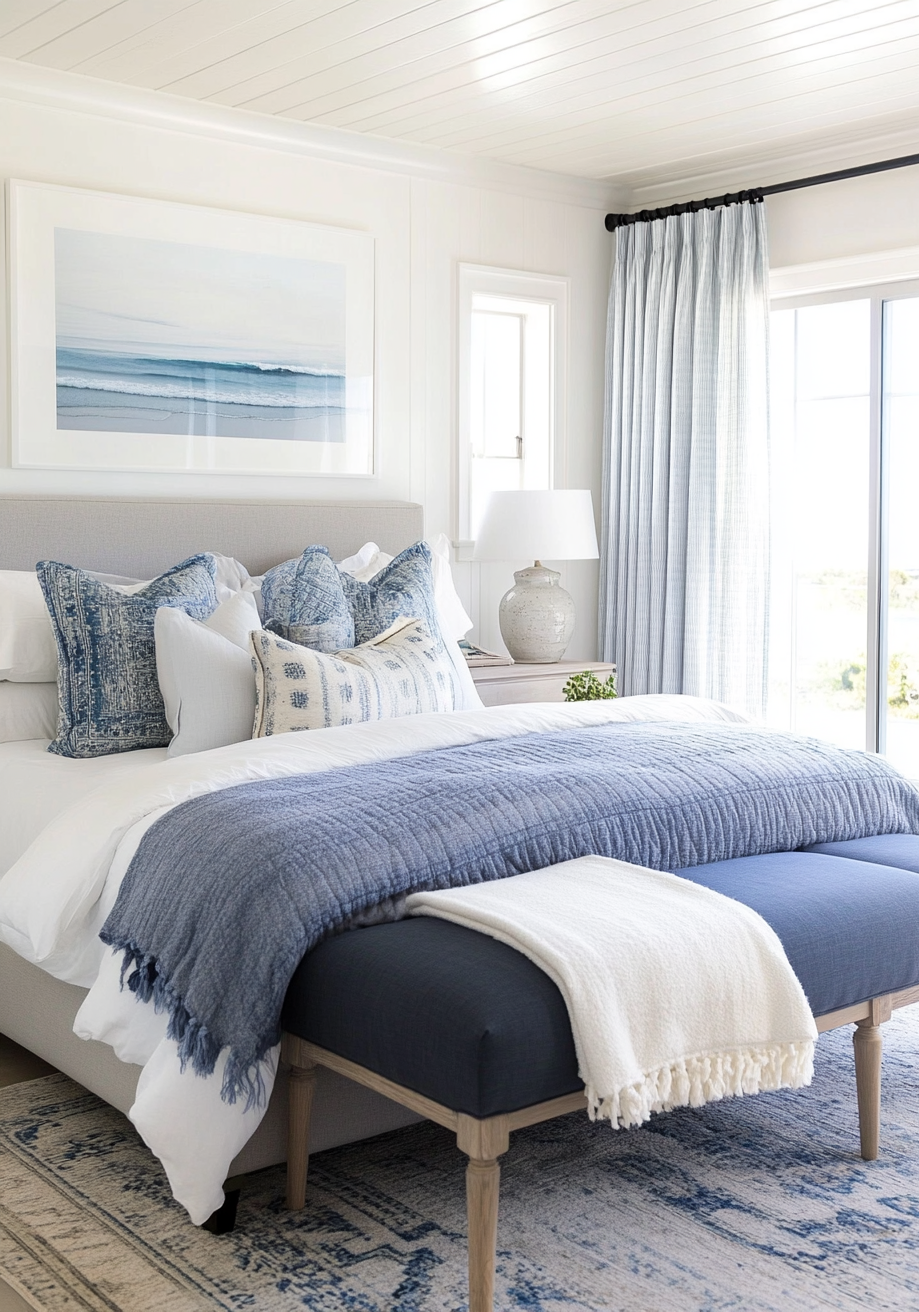
Headboards are one of those design elements that quietly make or break a bedroom. You don’t always realise how important they are until you remove one — and suddenly the room feels empty, flat, and oddly incomplete. As a designer, I’ve seen this time and time again: the bed might be the largest item in the room, but without a proper headboard, it rarely feels grounded.
And that’s exactly why DIY headboards have become one of the most effective, transformative projects you can do yourself. They add height, structure, texture and presence to your bedroom — without needing a whole furniture overhaul or an expensive custom order.
What I love most is how accessible they are. Whether you’re working with a minimalist frame, a wooden base, or a simple metal bed, a DIY headboard adapts beautifully. You can create something wall-to-wall, tall and dramatic, perfectly minimal, or softly upholstered — all without needing advanced tools.
Today, I’m breaking down the exact steps designers use when building a DIY headboard at home. From measurements to materials to installation, you’ll learn exactly how to create a headboard that looks intentional, high-impact, and beautifully tailored to your space.
At A Glance
• What materials you need for a DIY headboard
• How to measure your bed, walls and lighting correctly
• How to cut wood panels, batting and upholstery
• How to upholster panels so they look professional
• How to assemble a sturdy headboard structure
• How to install a headboard safely and evenly
• Designer tips for proportions, fabric choice and placement
1. DIY Headboard: Start With Your Design And Proper Measurements

Before anything else — measure. A DIY headboard is only as good as the planning behind it.
Think about the following:
The height of your bed frame
The height of your nightstands
Whether you have sconces, lamps or switches on the wall
Ceiling height
Windows, trim, or outlets that need to stay accessible
A headboard should feel proportional — not too tall that it overwhelms the room, and not too short that your pillows hide half of it.
Designer Tip: A good rule of thumb: the headboard should sit 10–15 cm above the top of your pillows when the bed is made.
2. DIY Headboard: Gather Materials Based On Your Final Measurements

Once your measurements are confirmed, you can purchase:
Wood panels
Upholstery fabric
Batting
Staple gun + staples
Strap ties (to connect panels)
Screws
Brackets
A drill
A circular saw (optional if you’re cutting at home)
This is where you have the most creative freedom — boucle, linen, canvas, suede, velvet, wool blends… anything works as long as it’s durable and structured.
Designer Tip: If you’re aiming for a custom, high-end look, choose a fabric with texture rather than a perfectly smooth one. Texture hides staples and softens edges naturally.
3. DIY Headboard: Cut Your Batting And Upholstery To Size

This is the part where most DIY headboards succeed or fail. The trick?Cut your batting and fabric larger than you think you need.
Lay your wood panel on top of the batting and fabric, then fold the sides over to estimate your overhang. This prevents gaps, wrinkles or exposed edges when you staple.
Designer Tip: Add an extra 2–3 inches (5–7.5 cm) to each side. You can always trim later — but you can’t add more fabric once it’s cut.
Start Your Elevated Bedroom Transformation
If you’re feeling unsure about proportions or fabrics, we can help. Our interior and exterior design packages include custom palettes, styling plans, and a fully guided bedroom design tailored to your space.
4. DIY Headboard: Upholster Your Boards Like A Designer

This is where your headboard comes to life. Lay down your fabric first, then your batting, then place your panel on top. Pull the fabric taut and staple from the centre outward — switching sides as you go.
It’s not difficult, but it does require rhythm:
Pull
Smooth
Staple
Switch sides
Repeat
Continue until the entire panel is upholstered cleanly.
Designer Tip: Always staple in alternating sides rather than working down one side completely. It keeps the fabric even and prevents puckering.
5. DIY Headboard: Assemble The Panels Into One Seamless Structure

Now you’re ready to connect your upholstered panels. Lay them fabric-side down and align each piece. Use strap ties to secure them together along the back, adding screws to reinforce stability.
If your design includes vertical rails or a top trim (like the reference project), attach those now.
Designer Tip: Use a long straightedge to ensure your panels are perfectly aligned before tightening screws. Even a slight shift becomes noticeable once installed.
6. DIY Headboard: Add Structural Support Where Needed

Large headboards — especially wall-to-wall styles — need added support.
This includes:
Horizontal rails
Vertical rails
Additional brackets
Reinforcement behind the central section
Extra support ensures the headboard stays straight, flush against the wall, and safe.
Designer Tip: If your outlets fall behind the headboard, create a small opening at the bottom for cords and power strips.
See How Our Design Process Works
If building a headboard feels overwhelming, we can create your layout, materials list, and styling plan — so you know exactly what to buy, where to place it, and how to finish the room.
7. DIY Headboard: Install With Precision (And A Little Help)
Once the headboard is fully assembled, you’ll need help lifting it into place — especially if your headboard spans the width of the wall. Use a level, measure twice, and secure carefully.
This is the part that makes the entire room feel intentional.
Designer Tip: Hire a professional if your headboard is large or heavy. The installation is worth doing right the first time.
8. DIY Headboard: Style The Bed To Match The New Proportions

A new headboard changes the scale of your room — which means your bedding should follow.
Now is the time to update:
Your pillows (size + quantity)
Your throw blanket
Your bedspread or duvet
Your bedside lamps
Designer Tip: Euro pillows (65×65 cm) work incredibly well with oversized or wall-to-wall DIY headboards.
9. DIY Headboard: Add Lighting That Complements The Height And Width

If you added a tall or wide headboard, consider:
Taller table lamps
Wall lights on either side
Picture lights above the bed
A linear wall-mounted light rail
Lighting shifts the entire mood of the space.
Designer Tip: Wall sconces require a shorter headboard; lamps can handle a taller one. Use that to guide your proportions.
10. DIY Headboard: Incorporate Artwork Or Shelf Styling

If your headboard doesn’t go fully wall-to-wall, artwork above it can finish the look beautifully. Keep the spacing intentional.
Designer Tip: Artwork should hang 10–20 cm above your headboard. Too high = disconnected. Too low = cramped.
11. DIY Headboard: Use Textures And Layers To Complete The Look

A headboard is your anchor — now build the rest of the room around it using:
Linen
Ribbed cotton
Chunky throws
Timber accents
Ceramic lamps
Designer Tip: Aim for 3–4 textures repeated twice each. This creates a cohesive, designed look without visual clutter.
Conclusion

A DIY headboard is one of the most impactful bedroom upgrades you can make — and surprisingly, it doesn’t require advanced skills or expensive materials. With good measurements, the right fabric, careful assembly and thoughtful styling, you can create a headboard that looks fully custom and elevates your entire space.
If your bedroom currently feels empty, unbalanced or unfinished, a DIY headboard is the transformation that brings everything together — giving your room height, presence and a clear design direction.
FAQ: DIY Headboard
1. What materials do I need for a DIY headboard?
Wood panels, upholstery fabric, batting, a staple gun, screws, strap ties and a drill.
2. How tall should a DIY headboard be?
Ideally 10–15 cm above your pillows when the bed is made.
3. Do I need professional help to install it?
If your headboard is large, heavy or wall-to-wall, yes — installation should be secure.
4. What fabric works best for a DIY headboard?
Structured fabrics with texture, like linen, boucle or canvas.
Find Your Signature Style
Not sure what direction to take your bedroom in? Take our BY Design And Viz Style Quiz and discover the design style that fits your home — and how to bring it to life.
Author Bio
As the founder of BY Design And Viz, I help homeowners transform their spaces through clear styling plans, refined palettes and practical design choices. My approach blends warmth and precision, creating spaces that feel intentional, personalised and beautifully lived in.


