


How 3D Renderings Help Interior Designers Reduce Costly Client Revisions

A mood board can communicate colour, texture and style. A floor plan can show where furniture will sit. Clients may still struggle to imagine how the completed room will feel when scale, lighting, materials and circulation come together.
This gap often becomes visible late in a project. A sofa that looked appropriate on a product page may dominate the room. A kitchen island may fit on plan while leaving the surrounding passage uncomfortably tight. By that stage, joinery may already be ordered and finishes may carry cancellation or restocking costs.
Three-dimensional renderings give designers and clients a shared view of the proposal while changes remain manageable. A structured interior design rendering workflow can clarify decisions, record approvals and reduce revisions caused by different interpretations of the same drawings.
Why Plans and Material Boards Leave Room for Misunderstanding
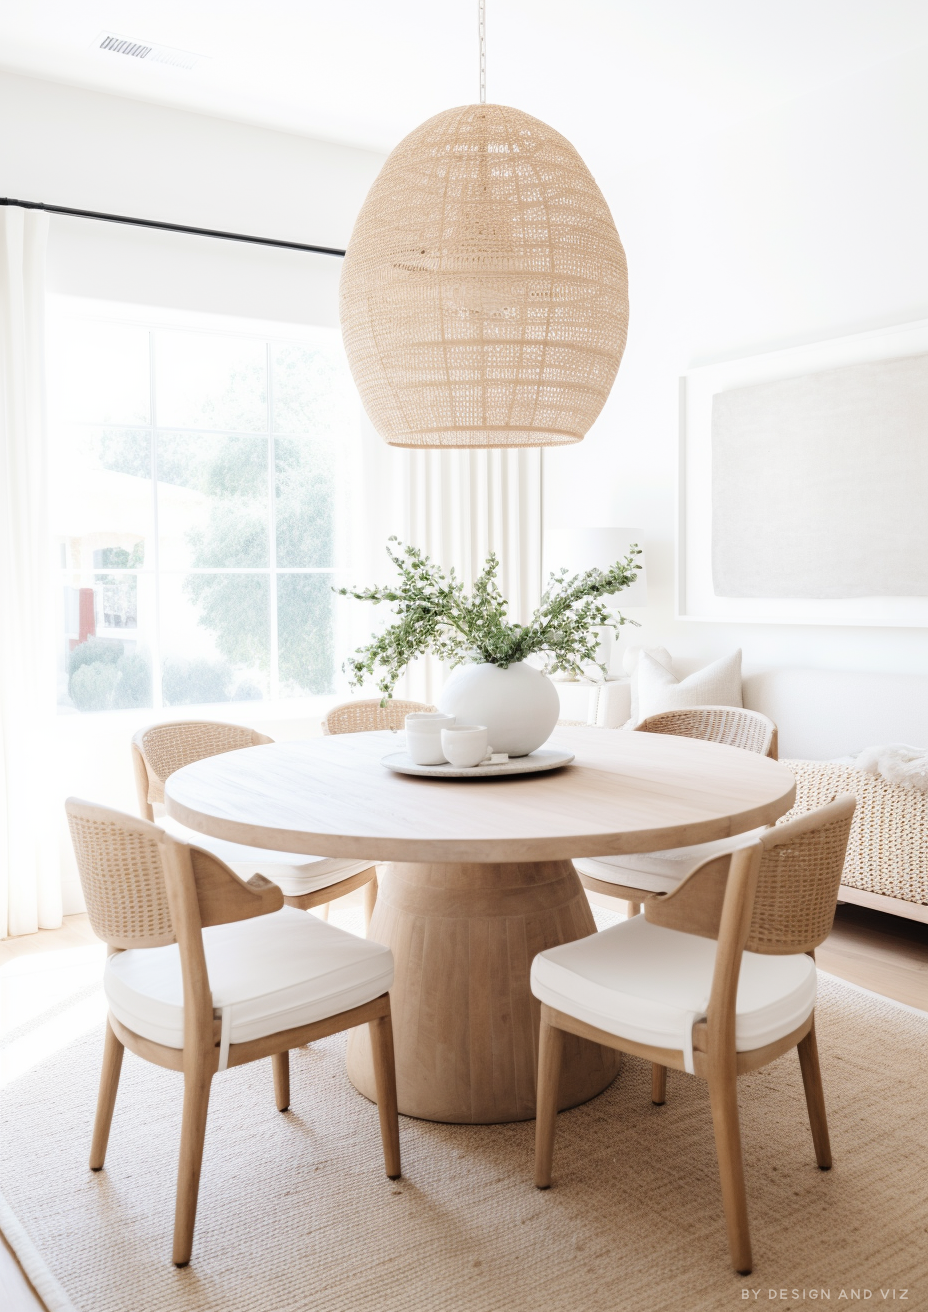
Designers are trained to read plans, elevations and material schedules as parts of a complete space. Many clients encounter these documents only a few times in their lives. They may understand each item separately while forming a very different picture of the finished room.
A dining table may fit technically without showing how it feels beside an island. Timber, stone, metal and paint samples can look harmonious on a board, yet their balance may change when applied across full walls, floors and cabinetry. Renderings place these choices in a recognisable spatial setting.
What a Decision Focused Rendering Should Show
A useful interior rendering should answer project questions rather than simply present a polished image. Depending on the review stage, the client should be able to assess:
Furniture scale and open circulation space
The relationship between fixed joinery and loose furniture
Material combinations across large surfaces
Natural and artificial lighting
Views from entrances and adjoining rooms
Storage, clearances and the visual balance of the space
Accuracy matters. Enlarging a room through an unrealistic camera lens or making it brighter than the proposed lighting allows may create appealing imagery and misleading expectations. The model should begin with verified dimensions, product data and the current approved plan.
A Kitchen Revision Caught Before Procurement
Consider a typical open-plan kitchen project. The floor plan includes a deep island with four stools, three pendant lights and full-height cabinetry on the facing wall. Every component fits within the measured footprint, and the client approves the layout after reviewing the plan and finish samples.
A draft rendering viewed from the adjoining living area reveals several concerns. The stools project into the main route through the room when occupied. The pendant cluster interrupts the sightline toward the garden, while the dark island finish gives the centre of the room more visual weight than the client expected. None of these issues is obvious when the products are reviewed separately.
The designer can respond before cabinetry and stone are ordered: slightly reduce the island depth, increase the passage behind the stools, test two smaller pendants and compare the dark finish with a lighter alternative. A second draft then confirms the revised proportions. These changes affect the model, drawings and specification, yet they avoid remaking custom joinery or changing electrical points after installation.
This kind of review shows where rendering creates financial value. It allows a client to react to the combined design while the project is still flexible.
Use Rendering Quality That Matches the Decision

Early Layout Review
Begin with simplified materials, basic lighting and limited decoration. Ask the client to focus on furniture arrangement, built-in elements, major fixtures and camera views. A highly polished image at this stage can draw attention toward accessories that have little relevance to the current decision.
Material and Lighting Review
Once the layout is stable, develop the main finishes and lighting. Compare only meaningful options and label each version clearly. Two considered alternatives are easier to evaluate than a large group of variations with no explanation of their trade-offs.
Final Presentation
Reserve detailed styling, high-resolution textures and final-quality output for an approved design. This sequence reduces the amount of finished visual work that must be repeated after a structural change.
Turn General Reactions Into Usable Feedback
Comments such as “it feels too cold” or “the room seems crowded” are valid reactions, though the model cannot be revised effectively until the source of the concern is identified. The designer can ask whether the impression comes from colour, lighting, metallic finishes, furniture size or the amount of visible floor area.
Each comment should identify the room or object, the relevant camera view, the type of change requested and the approved elements that must remain. Annotated images and numbered views help prevent the team from interpreting the same message in different ways.
Control Versions and Approvals
Revision costs also grow when a team works from the wrong file. Names such as “Final_New_Updated” offer little guidance. A structured name such as “Kitchen_View02_R03” identifies the room, camera and revision immediately.
Maintain a simple approval record for the layout, joinery, furniture, main materials, lighting and final camera views. Clients should also know whether an image is a draft for discussion or a final visual awaiting approval. This keeps each review focused on the decisions scheduled for that stage.
When Rendering Capacity Affects Delivery
Detailed interiors can demand substantial processing time. High-resolution textures, glass, reflective finishes, soft shadows, vegetation and multiple camera angles may occupy the same workstation the designer needs for modelling and revisions.
For batches of final images or high-resolution architectural visualisation, a cloud service such as Fox Renderfarm can provide additional CPU or GPU rendering capacity without requiring a studio to maintain its own server cluster. The design team remains responsible for scene preparation, compatibility tests, output review and all creative decisions.
Project security deserves attention because an interior scene may contain private residential layouts, unreleased commercial designs, custom furniture or identifiable client information. Fox Renderfarm states that it is ISO 27001 certified, has TPN Trusted Partner status and can provide a non-disclosure agreement. Its support documentation also states that customer source files are retained for 20 days and then automatically deleted.
Before uploading a sensitive project, the studio should confirm the current retention terms, access permissions and NDA requirements, remove unnecessary personal information, and submit a small test scene. Security expectations should be agreed internally and with the client before any third-party rendering service enters the workflow.
Check the Images Before Client Delivery

Every returned image needs a design and technical review. Confirm that furniture dimensions match the specified products, materials appear on the correct surfaces, doors and drawers have clearance, and the rendered layout agrees with the current drawings. Lighting, colour temperature and furniture placement should remain consistent across all views.
Review the files at their intended presentation size. Small modelling errors, noisy reflections or missing assets may be difficult to see in a thumbnail and immediately visible on a large screen.
Set Clear Expectations About What a Rendering Confirms
A rendering communicates design intent. Site surveys, construction drawings and qualified professional advice are still required for structural feasibility, building regulations, electrical work, plumbing and installation.
Screen colours also vary, while natural materials can change across batches and lighting conditions. Designers should verify product dimensions, finishes, availability and lead times with suppliers before purchase. Explaining these limits helps clients use the imagery as a decision tool without treating it as a technical guarantee.
Make Visualisation Part of the Decision Process
The strongest interior rendering workflows use visuals throughout the project. Early images resolve layout, intermediate views clarify materials and lighting, and final renderings communicate an approved proposal with greater confidence.
When each image has a defined purpose, client feedback becomes easier to interpret and approvals become easier to track. Problems can then be addressed while they remain digital, before they become expensive changes to fabricated, purchased or installed elements.
Frequently Asked Questions
Why are 3D renderings useful in interior design?
They help clients understand spatial relationships, furniture scale, materials, lighting, and the overall atmosphere of a proposed room. They can reveal concerns that may be difficult to identify from a mood board or floor plan alone.
Can an interior rendering guarantee that the finished room will look identical?
No. Screen colour, natural light, material variation, construction conditions, and product substitutions can affect the finished result. A rendering communicates design intent but is not a construction guarantee.
When should clients review a 3D interior design?
Clients should review draft visuals after the main layout and design direction have been established but before the team spends significant time on final details and high-resolution rendering.
How many revision rounds should a project include?
There is no universal number. The agreement should define how many rounds are included, what counts as a revision, and which changes may require additional time or fees.
When should a design studio consider cloud rendering?
It may be useful when final images take too long on local hardware, rendering prevents designers from continuing other work, or a project requires multiple high-resolution views within a limited delivery period.


Comments