


Designing Outdoor Spaces With Intention: How a Landscape Design Tool Can Elevate Your Visualization Workflow

Outdoor spaces aren't treated like structural afterthoughts anymore. No one wants to see a stunning modern house sitting on an empty green plain with a few trees slapped around the edges. People want personality, flow, and realistic outdoor spaces.
Meeting that standard on a tight deadline is tough. CAD tools are too rigid, while loading heavy 3D plants into your main software just slows your computer down. The trick is adding a light staging phase into your early process. Using lightweight tools like freeware landscape design software lets you map out topography, plant volumes, and hardscapes fast. In this article, we’ll look at how to structure exterior spaces with purpose, avoid early workflow lag, and integrate a fast layout phase into your daily rendering pipeline.
Plan Before You Decorate

The biggest tell of an amateur exterior render is a random scattering of identical 3D plants. Real landscapes have structure and reason behind them. When you block out an outdoor space, you're designing how someone experiences it in real life.
That means thinking about a few practical things right away:
● Functional Zoning: Divide the yard into distinct zones—lounging, dining, and open lawn. Clear boundaries make the space feel intentionally planned rather than randomly filled.
● Framing & Hiding: What do you want to highlight from the living room window, and what neighbor's fence are you trying to hide?
● Privacy: Mix foreground plants, medium shrubs, and tall background trees. Layering is what gives a flat screen actual visual depth.
● Sightlines & Barriers: Pay attention to how sunlight hits wet stone, rough timber decks, or sheer glass near garden beds.
When you solve these spatial problems early on, your renders stop looking like software demos and start looking like real places.
Pick the Right Tool for the Job
Most visualization pain comes down to picking the wrong tool for the job at hand. Full BIM tools are fantastic for blueprints, but awful for quick visual tweaks. Full 3D suites give you total creative freedom, but managing scatter plugins and massive asset libraries just to draft a simple garden layout wastes way too much time.
Dedicated landscape staging tools bridge that gap. Here is why they work better:
● Fast Layout Adjustments: Move walls, stretch decks, and push plant beds around in real time while trying out ideas.
● Easier Client Feedback: Swap out plant types or switch lighting presets on screen during review calls without waiting on test renders.
● Faster Workstations: Keep your main scene files light during the planning stage so your computer stays fast and smooth.
Common Mistakes That Slow Down Landscape Workflows

Even experienced 3D artists often hit unnecessary roadblocks when handling outdoor environments. Avoid these common traps to keep your setup efficient:
● Over-detailing too early: Placing ultra-high-poly grass and detailed leaf models before establishing the overall space layout leads to laggy viewports and lost time when a client asks to move a patio.
● Ignoring basic terrain logic: Scattering plants on a completely flat ground plane instantly kills realism. Even subtle grade changes, small retaining walls, and soft slopes make a landscape feel grounded and authentic.
● Treating lighting as an afterthought: Sunlight interacts with outdoor spaces very differently than indoor rooms. Checking your shadow angles early helps you position tall trees and structures without accidentally blocking all natural light from the main building.
How to Work This Into Your Daily Pipeline
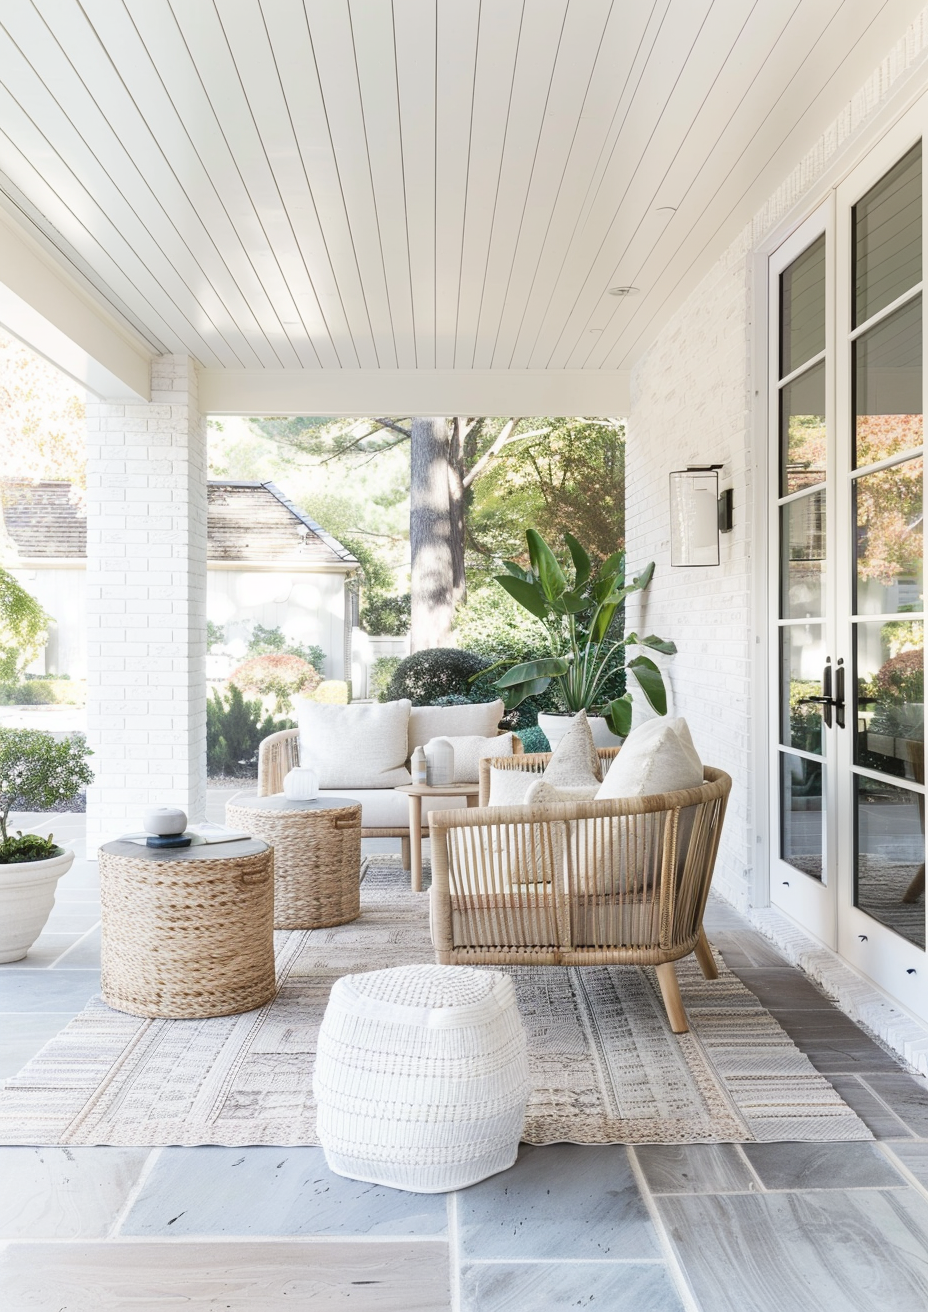
Structuring your landscape workflow comes down to a few clear steps. Here is how to keep your process fast and controlled from start to finish.
1. Block Out the Hard Stuff First
Get the ground slopes, property lines, and permanent features down first. Place your retaining walls, decks, walkways, and pool shells. Don't worry about textures yet—just nail the scale and proportions.
2. Group Plants by Volume, Not Details
Resist the urge to pick specific foliage assets right away. Block out functional plant groups instead:
● Overhead Canopy: Big trees that cast shadows and set vertical height.
● Mid-Level Shrubs: Bushes that divide spaces and border walkways.
● Ground Cover: Low plants that soften the hard edges where stone meets dirt.
3. Fine-Tune Details and Render the Final Scene
Once your spatial layout, topography, and plant composition are locked in, focus on the finishing touches. Dial in your materials, adjust the sun angles and atmosphere, and capture your high-resolution final renders—all while keeping your project responsive and easy to edit.
The Takeaway
Improving your workflow doesn't mean buying heavier asset packs or overhauling your whole setup. It’s simply about working smarter in the early stages. Staging your landscapes first gives you room to experiment, aligns your project faster, and leads to clean, convincing final renders every time.


Comments