How to Tile a Small Bathroom Floor: A Practical Step-by-Step Guide for Small Spaces
- Beril Yilmaz

- Jan 29
- 6 min read
Tiling a small bathroom floor can feel intimidating at first. Tight corners, plumbing obstacles, and limited room to maneuver often make homeowners worry they’ll make costly mistakes. The good news? Small spaces are actually ideal for DIY tiling projects when approached with the right strategy, tools, and planning.
Unlike larger bathrooms, compact spaces require fewer materials, less cutting overall, and can often be completed in a weekend. The key is precision. Every decision—from tile size and layout to adhesive choice and grout color—has a visible impact when square footage is limited. Thoughtful planning is what separates a bathroom that feels carefully designed from one that looks awkward or unfinished.
This guide walks you through how to tile a small bathroom floor step by step, with practical advice tailored specifically to small spaces. Whether you’re upgrading a powder room or refreshing a main bath, this article will help you achieve a clean, durable, and visually balanced result.
At a Glance: What You’ll Learn
How to tile a small bathroom floor without common DIY mistakes
Smart layout tricks that make small bathrooms feel larger
The right order of operations for long-lasting results
Finishing techniques that give your tile a professional look
1. How to Tile a Small Bathroom Floor: Plan the Layout Before You Touch a Tile

Planning is the most important step in tiling a small bathroom floor. Because the space is limited, poor layout choices are immediately noticeable.
Start by measuring the room carefully, wall to wall, including doorways and alcoves. Sketch a simple floor plan and mark the toilet flange, vanity footprint, and tub or shower base. These fixed elements will influence where full tiles and cuts should land.
In small bathrooms, it’s best to:
Center your layout visually, not mathematically
Avoid sliver cuts along visible walls
Keep cut tiles tucked under vanities or behind toilets
Dry-lay your tiles (without adhesive) to test different configurations. This allows you to adjust spacing and avoid ending up with tiny cuts along the entry wall, which can make the room feel cramped and uneven.
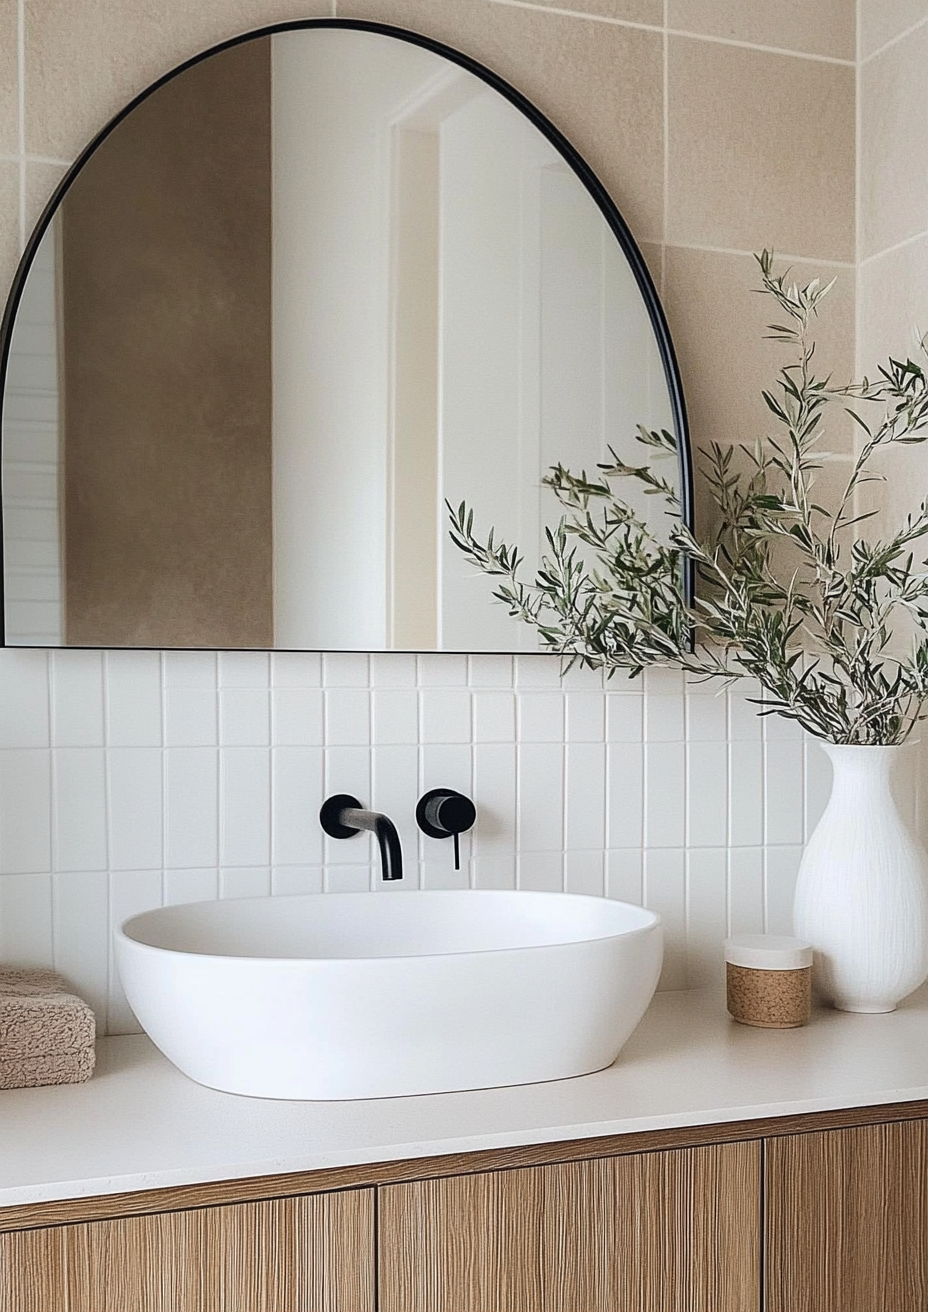
2. How to Tile a Small Bathroom Floor: Choose Tiles That Enhance the Space

Tile selection plays a major role in how large—or small—your bathroom feels.
Contrary to popular belief, large-format tiles often work better in small bathrooms. Fewer grout lines create a more seamless look, visually expanding the floor. Rectangular tiles laid lengthwise can elongate narrow rooms, while diagonal layouts help disguise tight dimensions.
When choosing tiles:
Opt for light to mid-tone colors to reflect light
Avoid overly busy patterns that overwhelm the floor
Choose matte or slip-resistant finishes for safety
Grout color matters just as much. Matching grout to tile color creates continuity, while high-contrast grout emphasizes pattern and can visually shrink the space.
3. How to Tile a Small Bathroom Floor: Prepare the Subfloor Properly

A flawless tile job depends on what’s underneath. Skipping subfloor prep is one of the most common—and costly—mistakes.
First, remove any existing flooring down to the subfloor. The surface must be clean, dry, and level. Even minor dips can cause tile lippage or cracking later.
For concrete subfloors:
Patch cracks with a cement-based filler
Use a leveling compound if needed
Ensure the surface is fully cured before tiling
For wood subfloors:
Replace any water-damaged areas
Secure loose boards
Install exterior-grade plywood if required
In small bathrooms, moisture exposure is constant, so subfloor stability is non-negotiable.
Let’s Map Out Your Space Together
If you're planning a makeover and want a designer’s eye on how stick on tiles could work in your home, we’d love to help you visualise the transformation. Book a free 30-minute consultation and let’s sketch out a layout that feels tailored to your space.
4. How to Tile a Small Bathroom Floor: Install an Uncoupling or Waterproof Membrane
Although sometimes skipped, membranes are especially valuable in bathrooms.
An uncoupling membrane helps prevent tile cracks caused by subfloor movement. Waterproof membranes add protection against moisture infiltration—critical in bathrooms with frequent spills and humidity.
Cut the membrane to size, apply thin-set mortar with a notched trowel, and press it firmly into place. Smooth out air pockets and allow it to set before moving on.
This extra step adds longevity and peace of mind, particularly in older homes.
5. How to Tile a Small Bathroom Floor: Establish Your Starting Point

Never start tiling from a wall in a small bathroom.
Instead, find a strong visual center—often the doorway or the main sightline when entering the room. Use a chalk line or laser level to mark perpendicular guidelines that intersect at your starting point.
Working outward from this reference ensures:
Balanced cuts along edges
A symmetrical appearance
Fewer awkward transitions at thresholds
In compact spaces, even slight misalignment becomes noticeable, so accuracy here is essential.
6. How to Tile a Small Bathroom Floor: Cut Tiles Strategically Around Obstacles

Small bathrooms are full of obstacles: toilet flanges, door jambs, pipes, and tight corners.
Measure each cut carefully and mark tiles clearly before cutting. Manual tile cutters work well for straight cuts on ceramic and porcelain. For curved cuts around pipes, tile nippers or an angle grinder are helpful.
Tips for cleaner results:
Cut slowly and test-fit often
Undercut door trim so tile slides underneath
Tile beneath fixtures whenever possible
Precision cutting is what elevates a DIY floor from “good enough” to professional-looking.
Your Renovation, Simplified
If you’re diving into a big home update, our Ultimate Renovation Planner can make the entire process far easier. From material planning to budgeting, it’s designed to keep your project organised while
helping you visualise every detail. Explore the planner and plan your makeover with clarity.
7. How to Tile a Small Bathroom Floor: Apply Adhesive and Set Tiles Evenly

Once layout and cuts are finalized, it’s time to set tile permanently.
Mix thin-set mortar according to manufacturer instructions. Using a notched trowel, spread adhesive in small sections to prevent it from drying out. Back-butter each tile for better adhesion, especially with larger tiles.
Set tiles firmly into place, using spacers to maintain consistent grout lines. Check level frequently, adjusting as needed before the mortar sets.
Work methodically and avoid stepping on freshly set tiles. In a small room, patience prevents costly fixes.
8. How to Tile a Small Bathroom Floor: Allow Proper Curing Time
Rushing the process is one of the biggest DIY errors.
Once tiles are set, allow them to cure for at least 24 hours—or longer if recommended by the adhesive manufacturer. Avoid walking on the floor or applying pressure during this time.
Proper curing ensures:
Strong adhesion
Flat, even tiles
Reduced risk of shifting during grouting
This waiting period may feel inconvenient, but it’s essential for durability.
9. How to Tile a Small Bathroom Floor: Grout for Durability and Visual Balance

Grouting locks tiles in place and completes the look of your bathroom floor.
Remove spacers, then apply grout with a rubber float, pressing it firmly into joints. Work diagonally across tiles to avoid pulling grout back out. Clean excess grout with a damp sponge before it fully hardens.
In small bathrooms, grout color has a big impact:
Matching grout creates a seamless look
Slight contrast adds definition without clutter
Dark grout hides stains in high-traffic baths
Allow grout to cure fully before sealing.
10. How to Tile a Small Bathroom Floor: Seal and Finish for Long-Term Protection

Sealing grout protects against moisture, staining, and mildew—especially important in bathrooms.
Once grout has cured, apply a penetrating sealer evenly and wipe away excess. This final step extends the life of your tile floor and keeps it looking fresh.
Reinstall fixtures, add baseboards if needed, and caulk edges where tile meets walls or tubs for a clean finish.
Conclusion
Learning how to tile a small bathroom floor is as much about strategy as it is technique. Small spaces demand precision, thoughtful layout, and patience—but they also offer the opportunity to create a big visual impact with relatively little material.
By planning carefully, choosing the right tiles, and following each step methodically, you can achieve a floor that feels intentional, durable, and beautifully finished. Whether you’re refreshing a guest bath or upgrading your primary bathroom, the results are well worth the effort.
Frequently Asked Questions
What tile size works best in a small bathroom?
Large-format tiles often work surprisingly well, as fewer grout lines make the space feel larger.
Should tile run under the toilet and vanity?
Yes. Installing tile beneath fixtures creates a cleaner look and simplifies future renovations.
Is sealing grout really necessary?
Absolutely. Sealing protects against moisture damage and staining, especially in bathrooms.
Can I tile a bathroom floor in one day?
Setting tile can often be done in a day, but curing, grouting, and sealing extend the process over several days.
Start Your Dream Home Transformation
Our online design packages were created to make the entire process smoother, clearer, and far more enjoyable — no stress, no second-guessing. Whether you’re refreshing one room or reimagining your whole home, we guide you every step of the way with layouts, visuals, and a fully personalised design plan.
See our interior and exterior design packages to get started.
Author Bio
Beril Yilmaz is the founder of BY Design And Viz, an online interior and exterior design studio specialising in clear layouts, thoughtful architectural details, and design decisions that support how people actually live. With a background in architecture and a practical design approach, her work focuses on creating homes that feel considered, functional, and intentionally designed.


Comments