How to Clean Your Air Vents Honest Advice Most People Only Learn After Moving In
- Beril Yilmaz

- Jan 16
- 10 min read
Updated: May 14
If you’ve ever wiped down a shelf, stepped back feeling proud, then noticed a fresh layer of dust appear like it pays rent, you’re not imagining things. Air vents can quietly recirculate dust, lint, and debris throughout a home, especially when cleaning has been focused on surfaces rather than airflow.
The good news is that learning how to clean your air vents properly is less about fancy sprays and more about doing a few steps in the right order. Once you know what to look for, vent cleaning becomes a quick maintenance task that fits into real life, not a full-day production.
Regularly cleaning your air vents helps reduce dust buildup and improves airflow, but it won’t solve deeper mechanical issues. If you’re dealing with persistent airflow problems, strange noises, or uneven heating and cooling, the issue may lie within the wider HVAC system rather than the vents themselves.
At A Glance
-What you need before you start and what to skip
-How to clean your air vents without spreading dust everywhere
-How to wash vent covers safely and get them fully dry
-How to clean inside duct openings without damaging anything
-How often to clean air vents based on your home and habits
-How to keep vents cleaner for longer with simple routines
1. How to Clean Your Air Vents: Know What You’re Actually Cleaning

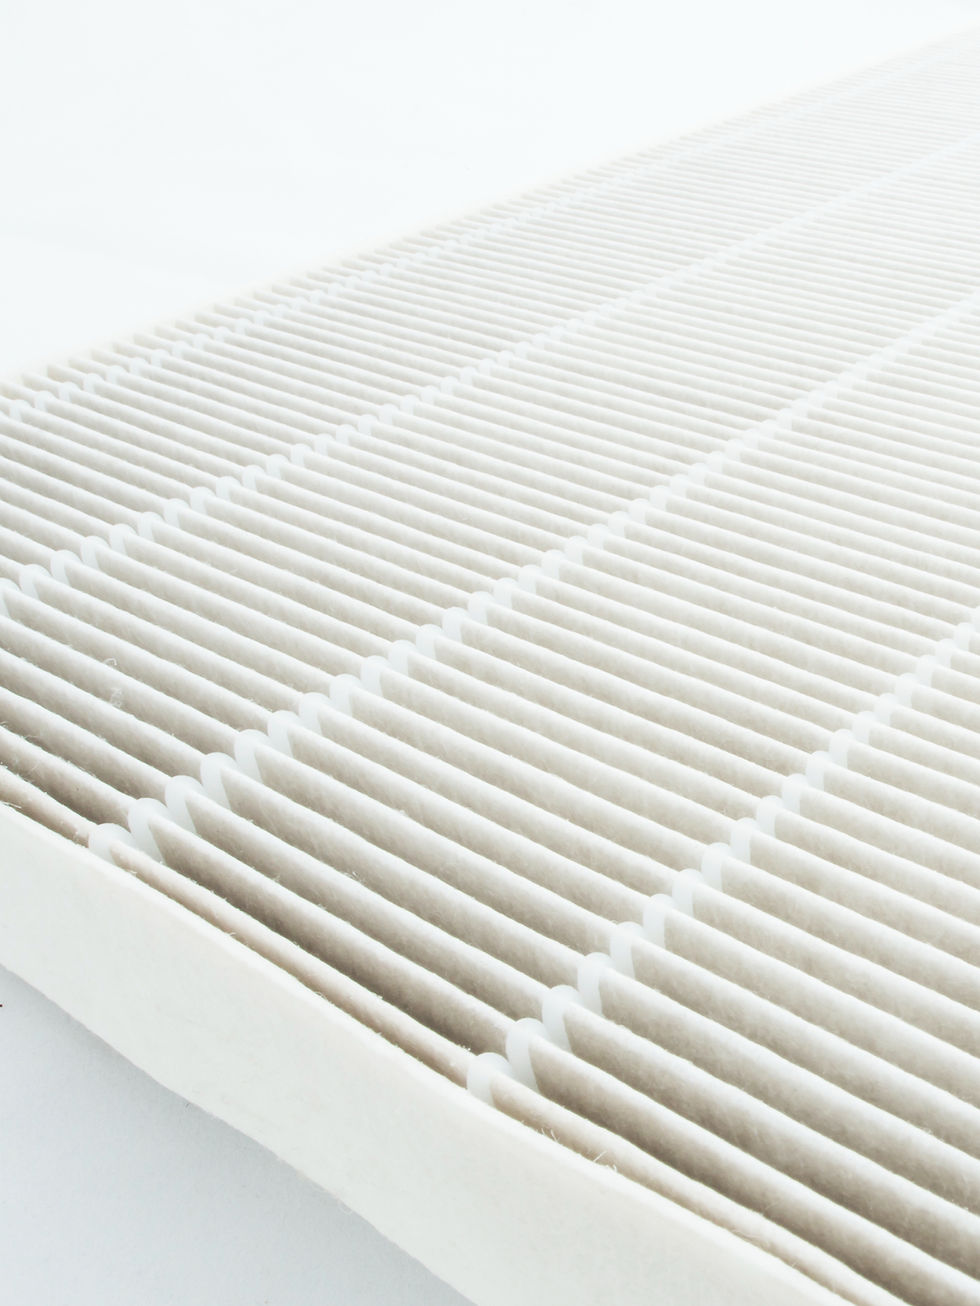
Before you start, it helps to separate three things people often bundle together as “vents.” The vent cover is the visible grille on the wall, floor, or ceiling. The vent boot is the metal opening behind it. The duct is the longer channel that carries air.
Homeowners in older northeastern cities like New York and Philadelphia often deal with decades of dust and debris packed into long winding duct systems that haven't been properly serviced in years, those in humid southern markets like Atlanta and New Orleans frequently find mold and moisture damage concentrated right at the boot where condensation collects, families in high wildfire smoke regions like Denver and Sacramento deal with fine ash and soot particles that penetrate deep into duct channels after seasonal air quality events, and right here where desert sand and extreme heat create their own unique buildup patterns, trusting expert air duct cleaning services in Las Vegas to address every layer from the cover to the boot to the full duct channel makes a noticeable difference in how clean and efficient your home air truly feels.Once you understand what each part of your ventilation system actually does and how differently each one collects contaminants, it becomes clear why a thorough professional cleaning is never just a luxury but a genuine necessity for any home that takes indoor air quality seriously.
Once you understand what each part of your ventilation system actually does and how differently each one collects contaminants, it becomes clear why a thorough professional cleaning is never just a luxury but a genuine necessity for any home that takes indoor air quality seriously.
Most DIY vent cleaning focuses on the cover and the first stretch of the boot. That’s completely fine for regular upkeep and dust reduction. Just don’t expect a quick wipe to replace professional duct cleaning if there’s heavy debris deeper in the system.
Keeping air vents clean over time often comes down to simple, consistent habits rather than heavy-duty products. Many professional cleaners focus on regular upkeep and a few reliable techniques to prevent dust from building up throughout the home.
Designer Tip: If dust gathers fastest in one or two rooms, treat those vents as your priority zones instead of trying to deep-clean every vent in one go.
2. How to Clean Your Air Vents: Gather Tools That Make It Easy
Knowing how to clean your air vents is half technique and half setup. The right tools prevent dust from drifting into the room and save you from scrubbing for no reason.
Here’s the simple kit that covers most homes without overcomplicating it.
Vacuum with hose and brush attachment
Microfibre cloths that trap dust instead of pushing it
Mild washing-up liquid for vent covers
Soft brush or old toothbrush for corners
Screwdriver for removing grilles
Painter’s tape or a towel to protect floors and nearby walls
You do not need harsh chemicals, strong degreasers, or anything strongly fragranced. Those can linger and become unpleasant once air starts moving again.
Designer Tip: Keep a dedicated microfibre cloth just for vents and radiators so you’re not redistributing lint from other cleaning jobs.
3. How to Clean Your Air Vents: Turn the System Off First
This step is the one people skip, and it’s the reason dust ends up floating around the room mid-clean. Turn off heating or cooling before you start. If air is actively moving, you’ll pull dust out and then immediately send it airborne.
If you can, set the system to off at the thermostat. For extra caution, especially if you’re removing ceiling grilles, switch the fan setting off as well.
Once the system is off, give it a few minutes so airflow settles. Then start cleaning.
Designer Tip: Clean vents right before you vacuum the room. Any dust that drops becomes part of your normal floor clean-up.
Let’s Map Out Your Space Together
If you're planning a makeover and want a designer’s eye on how stick on tiles could work in your home, we’d love to help you visualise the transformation. Book a free 30-minute consultation and let’s sketch out a layout that feels tailored to your space.
4. How to Clean Your Air Vents: Remove and Clean the Vent Covers Properly
Vent covers collect a mix of dust and slightly sticky residue from cooking, candles, and normal indoor life. A quick wipe helps, but washing them properly is what resets them.
Use this simple sequence so you don’t end up with streaks, rust spots, or paint damage.
Unscrew the vent cover and set screws aside in a small bowl
Vacuum the front and back of the cover to remove loose dust
Wash the cover in warm water with mild washing-up liquid
Use a soft brush for corners and tight grille sections
Rinse thoroughly and dry completely before reinstalling
Drying matters. Damp vent covers can collect dust faster and can mark paint or flooring if moisture sits against surfaces.
Designer Tip: If your vent covers are painted and the paint chips easily, switch from soaking to a damp cloth clean to protect the finish.
5. How to Clean Your Air Vents: Vacuum the Opening Without Making a Mess

Once the cover is off, you’ll see the vent opening. This is where dust builds up in a visible ring, and it’s often the biggest “wow” moment for people the first time they do it.
Use your vacuum hose with a brush attachment if you have one. Start at the edges and work inward. You’re removing loose dust and debris, not trying to scrape metal.
If dust is packed in, loosen it gently with a dry microfibre cloth first, then vacuum again. Avoid pushing debris deeper into the duct.
Designer Tip: Wrap a microfibre cloth around the end of a butter knife to reach the lip edges cleanly without scratching paint or metal.
6. How to Clean Your Air Vents: Clean Deeper Safely With a Cloth Method
You can clean a little deeper into the duct opening without special equipment. The goal is to reach the first stretch where dust clings, especially if your vents blow toward the room and catch airborne debris.
A simple method is to use a long object you already have and a microfibre cloth that grabs dust.
Fold a microfibre cloth around a ruler or wooden spoon handle and secure it with a rubber band. Gently wipe the inside walls of the opening, rotating the cloth as it picks up dust. Then vacuum again to collect anything that has loosened.
Skip anything wet inside the duct opening. Moisture can trap dust and create a sticky surface that collects more over time.
Designer Tip: If you see black spotting or persistent musty smell, stop and assess. That can signal condensation issues or something else worth addressing beyond basic cleaning.
Your Renovation, Simplified
If you’re diving into a big home update, our Ultimate Renovation Planner can make the entire process far easier. From material planning to budgeting, it’s designed to keep your project organised while
helping you visualise every detail. Explore the planner and plan your makeover with clarity.
7. How to Clean Your Air Vents: Watch for Paint and Plaster Problems

Sometimes vents look dusty because the surrounding area is shedding material. This is common in older homes or recently renovated spaces where sanding dust settles into every gap.
Look closely at the paint line around the vent cover. If you see flaking paint, cracked caulk, or plaster dust, clean and then consider resealing that edge. Otherwise, the vent area will keep looking dirty even after you clean it.
A neat seal around vents also improves the overall finish of a room. It’s one of those small details that makes a space feel looked-after.
Designer Tip: If you’re repainting, remove vent covers first. Painting around them almost always leads to uneven edges and paint ridges that trap dust.
8. How to Clean Your Air Vents: Deal With Odours Without Perfume Tricks
If a vent smells off, the temptation is to spray something and move on. That usually backfires. Fragrance mixes with airflow and can feel overpowering fast.
Instead, clean the vent cover and opening thoroughly first. Odours often come from dust buildup mixed with kitchen residue or general indoor air particles. Once that’s removed, run the system and see if the smell persists.
If it does, change your HVAC filter if you have one. In many cases, a clogged filter is the real culprit. If the smell remains after that, it’s time to investigate the wider system rather than focusing on vents alone.
Designer Tip: If odours are strongest when the system first turns on, that points to dust buildup heating up, which usually improves after a proper clean and filter change.
9. How to Clean Your Air Vents: Set a Maintenance Rhythm That Works
The easiest way to keep vents clean is to make it boring and predictable. The exact schedule depends on how your home operates.
Here are practical intervals that suit most households.
Every 4–6 weeks: quick vacuum and wipe of vent covers in main rooms
Every 3 months: remove covers and wash them, vacuum inside openings
Spring and autumn: check filters and do a full pass of all vents
After renovations: clean vents more frequently for the first month
If you have pets, a busy kitchen, or high foot traffic, you’ll likely need the shorter end of those ranges.
Designer Tip: Tie vent cleaning to something you already do, like the first weekend of the month or the day you replace bedding, so it actually happens.
10. How to Clean Your Air Vents: Make Your Cleaning Work Better With One Filter Habit

If your system uses filters, filter care is one of the most effective ways to reduce vent dust. A filter that’s overdue lets more debris move through the system, which means vents show buildup faster.
Check your filter monthly and replace based on manufacturer guidance and actual conditions in your home. Homes with pets, high pollen exposure, or frequent cooking may need more frequent changes.
This is one of those quietly powerful steps that makes your whole home feel cleaner without adding extra cleaning time.
Designer Tip: Write the replacement date on the filter frame with a marker so you don’t have to guess when it was last changed.
11. How to Clean Your Air Vents: Avoid the Three Mistakes That Make Dust Return
Even when people learn how to clean your air vents, a few common mistakes undo the effort.
The first is cleaning with the system running, which spreads dust. The second is wiping with a cloth that doesn’t trap particles, which smears dust into a film. The third is reinstalling vent covers while they’re still slightly damp, which attracts dust faster.
Also, avoid stuffing anything deep into ducts or using sharp tools that scratch surfaces. Scratches create texture where dust catches and builds.
Designer Tip: If you want a visibly cleaner result, finish with a dry microfibre buff on the cover face. It removes leftover residue that makes vents look dull.
12. How to Clean Your Air Vents: Know When It’s Time to Look Beyond Vent Cleaning

A fresh vent clean should help with visible dust and minor airflow improvement. If you’re still noticing weak airflow, uneven heating or cooling, rattling sounds, or persistent dust across the home, the issue may be larger than vent upkeep.
That’s when it makes sense to look at filter condition, HVAC servicing, and whether ducts need professional attention. Vent cleaning is a maintenance step, not a cure-all.
The win is knowing what you can control easily at home, and when it’s smart to escalate rather than repeatedly cleaning the same vents.
Designer Tip: If one room is consistently underperforming, note which vent it is and how it behaves. Patterns are helpful when you speak to an HVAC professional.
Conclusion
Learning how to clean your air vents doesn’t need special products or a dramatic weekend reset. It’s a straightforward routine that reduces visible dust, improves how air moves through your rooms, and makes your home feel easier to maintain.
The biggest difference comes from doing a few steps consistently: turning the system off, cleaning covers properly, vacuuming the opening carefully, and keeping filters on schedule. Once that becomes your baseline, vents stop being that annoying detail you only notice when they look dirty, and start acting like what they’re meant to be: a quiet part of a home that runs well.
If your vents are clean and you’re still dealing with airflow issues or strange system behaviour, treat that as useful information, not a failure. You’ve ruled out the simple stuff, and that’s exactly how smart home maintenance works.
FAQ: How to Clean Your Air Vents
How often should I clean air vents?
For most homes, a quick vacuum and wipe every 4–6 weeks helps. Washing vent covers and vacuuming inside openings every 3 months keeps buildup under control.
Can I clean air vents without removing the covers?
Yes, you can vacuum and wipe the cover surface, but removing and washing the cover gives a noticeably cleaner result and helps reduce recurring dust.
Is it safe to use water or sprays inside air vents?
It’s better to avoid wet cleaning inside duct openings. Use dry microfibre cloth methods and vacuuming. Moisture can trap dust and create residue.
Why do my air vents get dusty so quickly?
Fast dust return can come from overdue filters, high indoor dust sources like pets or renovations, or airflow patterns that push dust toward vent faces.
Start Your Dream Home Transformation
Our online design packages were created to make the entire process smoother, clearer, and far more enjoyable — no stress, no second-guessing. Whether you’re refreshing one room or reimagining your whole home, we guide you every step of the way with layouts, visuals, and a fully personalised design plan.
See our interior and exterior design packages to get started.
Author Bio
Beril Yilmaz is the founder of BY Design And Viz, an online interior and exterior design studio specialising in clear layouts, thoughtful architectural details, and design decisions that support how people actually live. With a background in architecture and a practical design approach, her work focuses on creating homes that feel considered, functional, and intentionally designed.


Comments